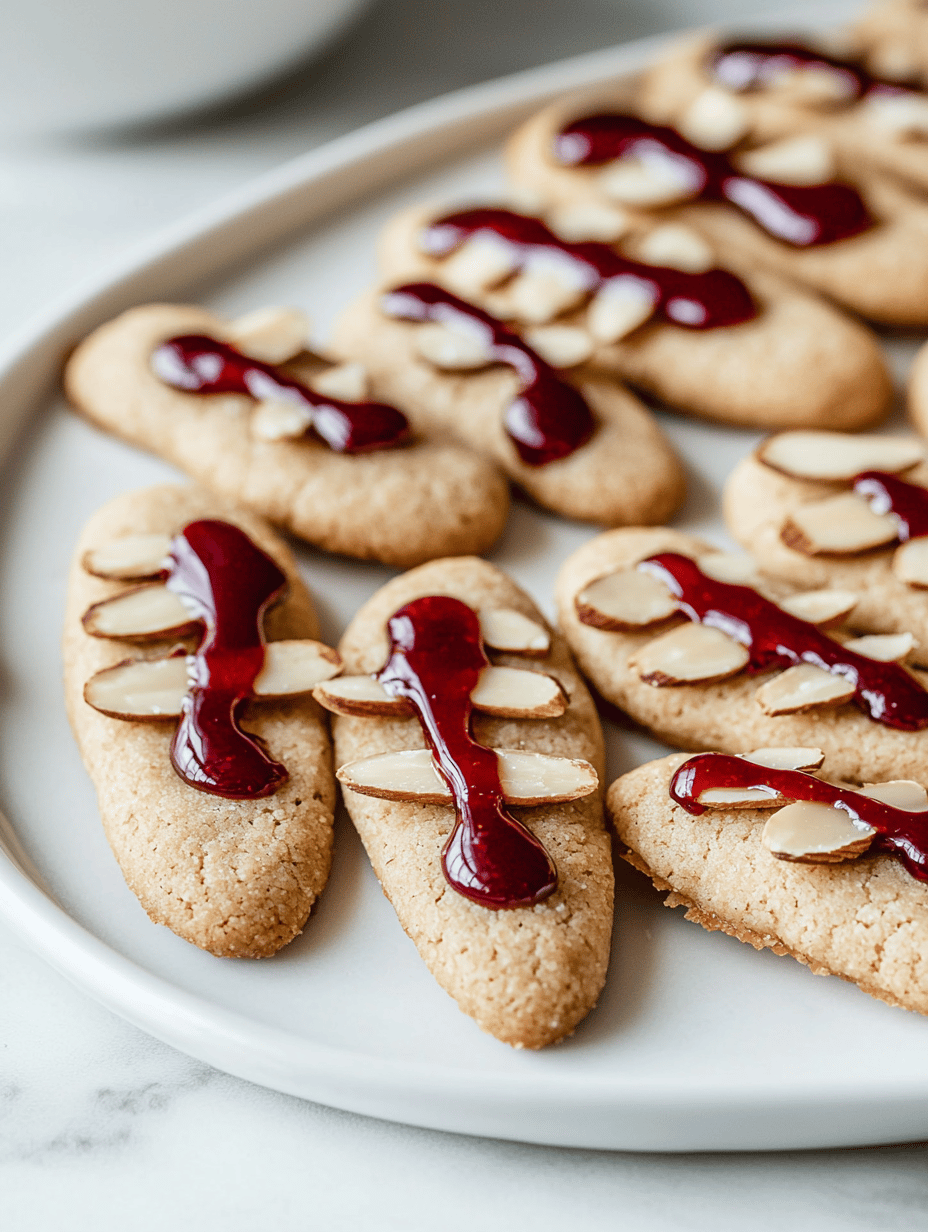
Every October, I find myself craving more than just the usual pumpkin pies and caramel apples. I love crafting treats that provoke smiles and a little spooky wiggling—like these hauntingly realistic Witch Finger Cookies. The secret lies in the slightly uneven nails and eerie, wrinkled skin that make them shockingly convincing.
What’s more satisfying than biting into a finger-shaped cookie that crumbles just right, revealing a subtly almond-flavored, buttery center? These cookies turn a simple baking session into a mini mystery, and I always feel a tad bit mischievous each time I make them. Their grotesque charm makes them a hit at any Halloween gathering.
WHY I LOVE THIS RECIPE?
- Unleashes my inner baker with a touch of creepy storytelling.
- Brings nostalgic Halloween memories with a modern, spooky twist.
- Gets everyone involved—kids love decorating the nails and nails-biting drama.
- Perfectly simple ingredients for a fun, stress-free bake.
- Incredibly satisfying to see (and hear) everyone’s squeals of delight.
AVOID MY DISASTER (You’re Welcome)
- FORGOT to chill the dough, resulting in sticky fingers—refrigerate for 30 minutes, then try again.
- DUMPED too much almond extract—keeps the flavor balanced with just a drop or two.
- OVER-TORCHED the almond slivers—toast briefly at low heat for crunch without burning.
- MISSED adding the nail marks—use a toothpick for creepy creases and scar-like details.
QUICK FIXES THAT SAVE YOUR DAY
- When dough is too soft, PATCH with a sprinkle of flour and chill again.
- SPLASH vanilla extract for a richer flavor if you crave more depth.
- When nails fall off, SHIELD with a tiny dab of icing glue or melted chocolate.
- When burnt almond slivers, SWAP for mini pretzels for a crunch twist.
- When dough cracks, WORK in a teaspoon of milk to restore flexibility—smells like a dream.
These Witch Finger Cookies aren’t just a spooky treat—they’re a playful way to celebrate the season’s eeriness. The unsettling realism makes them perfect for when you want to add a dash of chaos to your holiday table. Plus, they’re a gentle reminder that baking can be just as fun when it’s a bit unpredictable.
As the air turns crisper and ghosts of Halloween past whisper through the trees, these creepy cookies add a bit of cheeky charm. They’re an easy, impressive project for a solo bake or a family chaos session. And honestly, no matter how the shaping turns out, they’ll surely bring a mischievous smile and some squeals of delight.
Witch Finger Cookies
Ingredients
Equipment
Method
- Cream together the softened butter and granulated sugar in a mixing bowl until the mixture is light and fluffy, and smells subtly sweet, about 2-3 minutes.
- Add the egg and vanilla extract, then beat until well combined and slightly bubbly, about 1 minute.
- In a separate bowl, whisk together the flour, baking powder, and toasted almond slivers if using.
- Gradually add the dry ingredients to the wet mixture, mixing just until a soft, slightly crumbly dough forms. If the dough feels too sticky, sprinkle in a little more flour and fold it in gently.
- Chill the dough in the refrigerator for at least 30 minutes to help it relax and firm up, making it easier to shape.
- Preheat your oven to 350°F (175°C). Line a baking sheet with parchment paper for easy cleanup.
- Once chilled, take small portions of the dough and roll them into finger-shaped logs, about 3 to 4 inches long, tapering slightly at one end to resemble a knuckle.
- Place the shaped cookies on the prepared baking sheet, spacing them a couple of inches apart.
- Use a toothpick or small knife to gently create creases and wrinkles on the skin, and add tiny nail marks at the knuckle tips for a realistic effect.
- Bake in the preheated oven for about 15 minutes, or until the cookies are golden brown and slightly cracked on the surface.
- Remove the cookies from the oven and let them cool for a few minutes on a wire rack until firm enough to handle but still delicate.
- If desired, seal the nail marks with a tiny dab of icing or melted chocolate for extra creepy detail. Serve once cooled and enjoy their spooky, crumbly texture.
Making these Witch Finger Cookies transforms ordinary baking into a playful, slightly wicked ritual. Each step is a chance to get a little creative—altering the nails, adding tiny knuckles, or even experimenting with color. It’s not just about the final look, but the messy, joyful process that makes it special.
This Halloween, let your creative instincts run wild. These cookies are a reminder that sometimes the best treats are the ones you almost don’t want to eat—until you do. Ultimately, they combine the thrill of the spooky season with the comfort of homemade baking, creating memories as sweet and eerily satisfying as the cookies themselves.

Hi, I’m Jessica Miller, the creator behind Taste Bud Tyrant. Before you get intimidated by the name, let me explain. I am not actually tyrannical. I am just deeply opinionated about flavor. If a dish is bland, I will say it. If a sauce needs acid, I will add it. If something can be bolder, brighter, or better balanced, I will not stop until it is.
