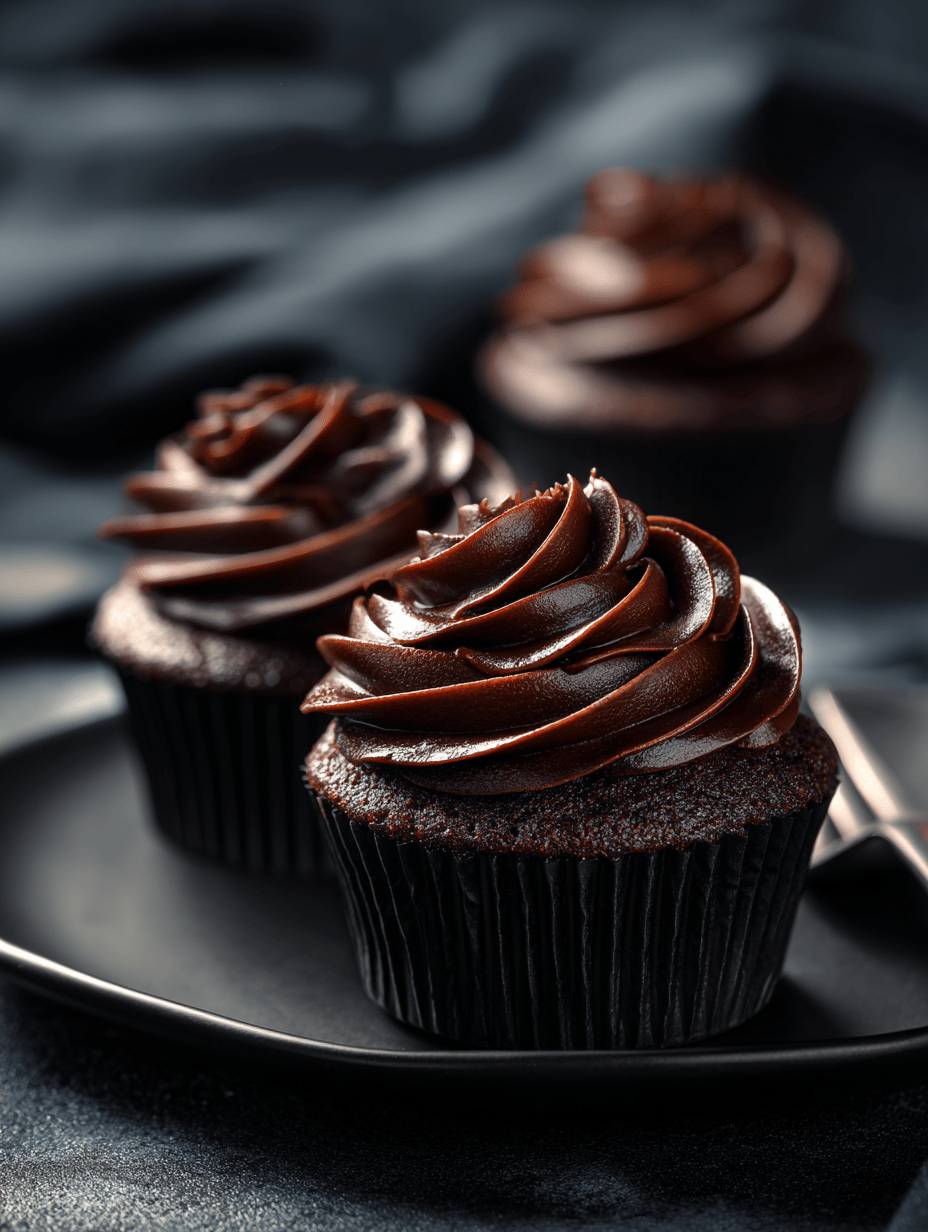
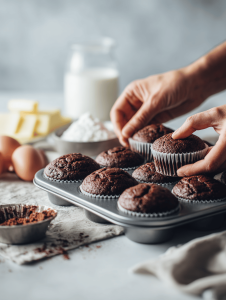
Black velvet cupcakes are a secret pleasure, a little mischievous with their dark hue and deep cocoa flavor. I love how they look—almost ominous but promise a rich, tender bite. Baking these feels like an act of quiet rebellion, balancing elegance with a hint of chaos. They remind me of cozy nights and the simple joy of a well-made treat.
Why these cupcakes keep pulling me back
Their complex cocoa flavor and moist crumb never get old. I crave the dark, slightly bitter bite paired with a sweet or tangy frosting. Baking them reminds me of quiet weekends and messy kitchen joy. They’re my go-to when I need comfort that’s rich and honest.
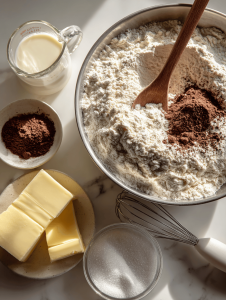
Breaking down the velvet ingredients
- Dark cocoa powder: Gives that signature deep color and smoky flavor, not just sweetness.
- Buttermilk: Adds tang and moistness, making the crumb tender and rich.
- Vanilla extract: Enhances overall flavor, a splash for depth.
- Butter: Provides richness and structure, essential for moistness.
- Sugar: Balances cocoa bitterness and tenderizes.
- Eggs: Bind ingredients and help with rise, adding moisture.
- All-purpose flour: Foundation for structure, must be sifted for lightness.
Tools of the trade for velvet mastery
- Mixing bowls: For combining dry and wet ingredients smoothly.
- Electric mixer: To beat butter and sugar until perfect and fluffy.
- Rubber spatula: Scraping down sides and folding ingredients.
- Muffin tin and liners: To shape and contain the cupcakes.
- Toothpick or cake tester: Checking doneness.
Step-by-step to Velvet Deepness
Step 1: Preheat your oven to 175°C (350°F).
Step 2: Line a muffin tin with paper liners.
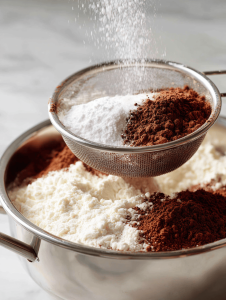
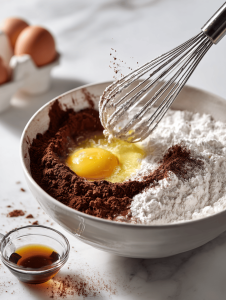
Step 3: Sift together flour, cocoa powder, baking soda, and salt.
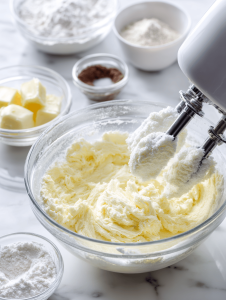
Step 4: Cream butter and sugar until light and fluffy, about 3-4 minutes.
Step 5: Beat in eggs one at a time, then stir in vanilla.
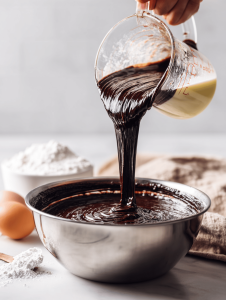
Step 6: Alternate adding buttermilk and dry ingredients, starting and ending with dry.
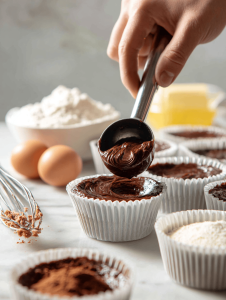
Step 7: Fill cupcake liners about 2/3 full.
Step 8: Bake for 18-20 minutes, or until a toothpick comes out clean.
Step 9: Let cupcakes cool in the tin for 5 minutes, then transfer to a wire rack.
Step 10: Frost once completely cooled, with a dark chocolate or cream cheese frosting.
Cooking checkpoints and tips for velvet perfection
- The batter should be smooth and glossy, not lumpy.
- Cupcake tops should be domed and slightly cracked, indicating good oven spring.
- A toothpick inserted in the center should come out clean, not wet.
- Frosting should be firm enough to hold a swirl, but still creamy.
Common pitfalls and how to dodge them
- Mixing cold ingredients causes lumpy batter.? Use room temperature ingredients for a smooth batter.
- Overmixing makes cupcakes dense and tough.? Don’t overmix after adding dry ingredients.
- Overbaking leads to dry cupcakes.? Bake until just done.
- Frosting melts if applied too early.? Cool cupcakes completely before frosting.
Black Velvet Cupcakes
Ingredients
Equipment
Method
- Preheat your oven to 175°C (350°F) and line a muffin tin with paper liners.
- Sift together the flour, cocoa powder, baking soda, and salt in a large bowl until well combined and light.
- In a separate bowl, beat the softened butter and sugar with an electric mixer on medium speed until the mixture is pale, fluffy, and fragrant, about 3-4 minutes.
- Add eggs one at a time, beating well after each addition, then stir in vanilla extract until evenly incorporated.
- Alternately add the first half of the buttermilk and the dry ingredients to the butter mixture, starting and ending with the dry, mixing just until each addition is combined.

- Pour in the remaining buttermilk and gently fold until the batter is smooth, glossy, and free of lumps.
- Divide the batter evenly among the cupcake liners, filling each about two-thirds full.
- Bake for 18-20 minutes, until the tops are domed and slightly cracked, and a toothpick inserted into the center comes out clean.
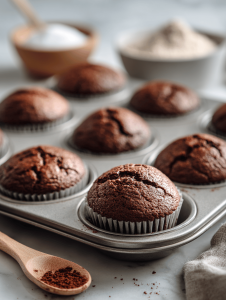
- Remove the cupcakes from the oven and let them cool in the tin for 5 minutes before transferring to a wire rack to cool completely.
- Once cooled, frost the cupcakes with your favorite dark chocolate or cream cheese frosting for a decadent finish.

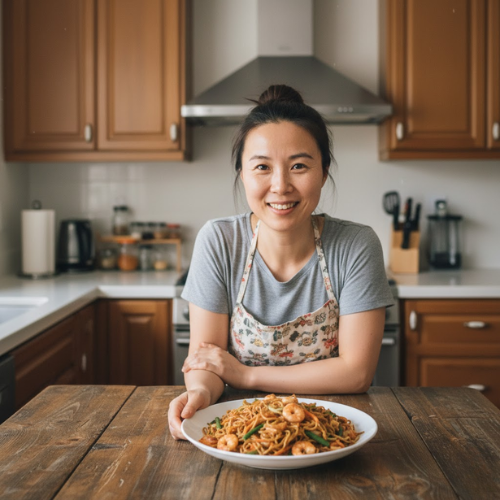
Hi, I’m Jessica Miller, the creator behind Taste Bud Tyrant. Before you get intimidated by the name, let me explain. I am not actually tyrannical. I am just deeply opinionated about flavor. If a dish is bland, I will say it. If a sauce needs acid, I will add it. If something can be bolder, brighter, or better balanced, I will not stop until it is.
