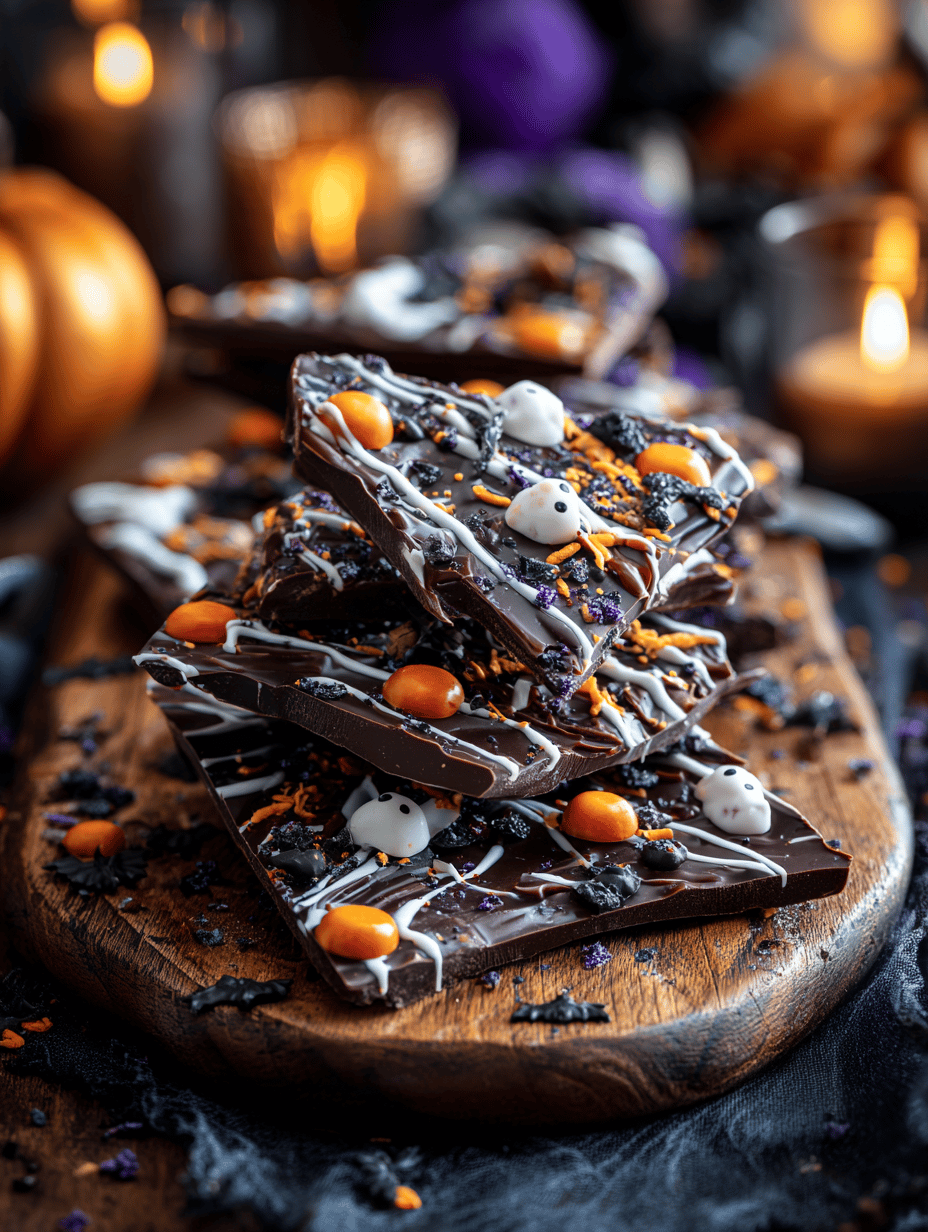
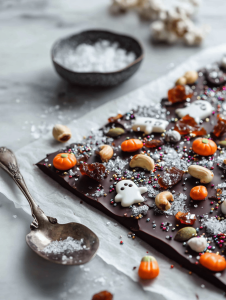
This Halloween bark is my go-to for a quick, no-fuss treat that still feels special. It’s a bit of a rebel move—combining the richness of dark chocolate with unexpected toppings that surprise your palate. I love how it turns a simple chocolate melt into a spooky masterpiece in minutes. Plus, it’s a fun way to get friends or kids involved in the kitchen.
Why I Keep Coming Back to This Recipe
It’s quick, forgiving, and endlessly customizable. The contrast of textures and flavors keeps it interesting. Making this bark feels like celebrating, even on days when I just want a little sweetness without fuss. Plus, it’s a great way to use up odds and ends in the pantry, turning them into something spooky and beautiful.
Breaking Down the Sweet Components
- Dark chocolate: Rich, slightly bitter base that melts smoothly, providing a perfect backdrop.
- Candied nuts: Adds crunch and sweetness, with a hint of smoky caramel flavor if toasted.
- Dried fruit: Gives a chewy contrast and bursts of tang—think tart cranberries or sweet apricots.
- Crushed cookies or crackers: For a salty crunch that balances the sweetness.
- Sprinkles or edible glitter: A dash of shimmer or fun shapes to make it festive.
- Sea salt flakes: A tiny pinch enhances all the flavors and adds a shimmer of sparkle.
Tools of the Trade for Spooky Goodness
- Double boiler or microwave: For gentle, even melting of chocolate.
- Spatula: To spread and smooth melted chocolate.
- Parchment paper or silicone mat: To prevent sticking and for easy removal.
- Knife or break-apart tool: To break the cooled bark into shards.
Crafting the Perfect Halloween Bark
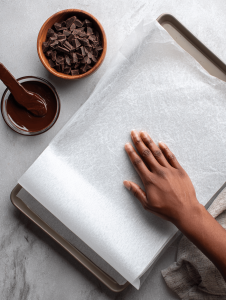
Step 1: Line a baking sheet with parchment paper or a silicone mat.
Step 2: Melt the chocolate in a double boiler or microwave, stirring until smooth.
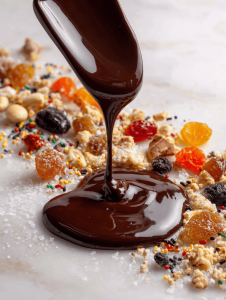
Step 3: Pour the melted chocolate onto the prepared sheet, spreading evenly with a spatula.
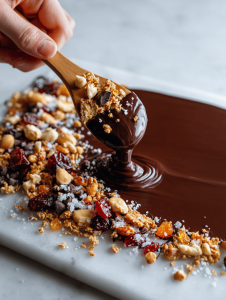
Step 4: Sprinkle your chosen toppings—candied nuts, dried fruit, or crushed cookies—over the warm chocolate.
Step 5: Let it cool at room temperature until set, about 2 hours, or refrigerate for 30 minutes.
Tips to Nail Your Halloween Bark
- Ensure chocolate is fully melted and smooth before pouring, to avoid lumpy texture.
- Sprinkle toppings immediately after pouring so they stick well.
- Avoid overhandling the bark once it’s cooled to keep it crisp and shiny.
- Watch the edges for overbaking or burning, especially in the microwave.
Common Pitfalls and How to Dodge Them
- Over-heated chocolate turns grainy and thick.? Use low heat or short bursts in microwave to prevent burning.
- Toppings slide off or don’t stick.? Sprinkle toppings immediately after pouring.
- Thick layers stay soft and don’t set properly.? Refrigerate in thin layers.
- Edges burn or scorch.? Keep an eye on edges during melting.
Halloween Chocolate Bark
Ingredients
Equipment
Method
- Line your baking sheet with parchment paper or a silicone mat, ensuring a smooth, flat surface for your chocolate.
- Place the dark chocolate in a double boiler or microwave-safe bowl and melt in short bursts, stirring until smooth and glossy. The chocolate should be fully melted and fragrant.

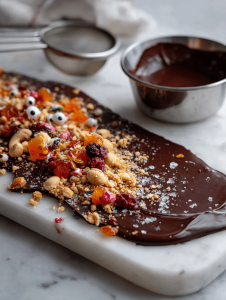
- Pour the melted chocolate onto the prepared baking sheet, using a spatula to spread it evenly into a thin layer, about 1/4 inch thick. You’ll hear a gentle sizzle as the chocolate settles.
- Sprinkle the candied nuts, dried fruit, and crushed cookies evenly over the warm chocolate, pressing them lightly into the surface so they adhere well.
- Add a few sprinkles or edible glitter on top for a festive shimmer, and finish with a tiny pinch of sea salt flakes to enhance all the flavors.
- Let the bark cool at room temperature until completely set and firm, about 2 hours. For quicker results, refrigerate it for about 30 minutes until solid.
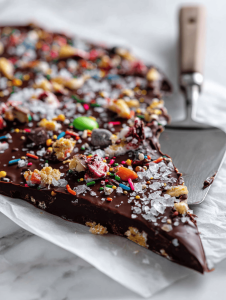
- Once hardened, break the bark into irregular shards using a knife or break-apart tool, revealing a glossy, textured surface with colorful toppings.
- Enjoy your homemade Halloween chocolate bark, perfect for sharing or gifting at your spooky celebration!

Hi, I’m Jessica Miller, the creator behind Taste Bud Tyrant. Before you get intimidated by the name, let me explain. I am not actually tyrannical. I am just deeply opinionated about flavor. If a dish is bland, I will say it. If a sauce needs acid, I will add it. If something can be bolder, brighter, or better balanced, I will not stop until it is.
